
TD;DR
$pfxPath = "C:\Users\frend\Desktop\xxxx_codesign_2022.pfx"
$pfxPassword = ConvertTo-SecureString -String "xxx" -AsPlainText -Force
$cert = Import-PfxCertificate -FilePath $pfxPath -CertStoreLocation Cert:\CurrentUser\My -Password $pfxPassword
Set-AuthenticodeSignature -FilePath "C:\Users\frend\Desktop\test.ps1" -Certificate $cert -TimestampServer "http://timestamp.digicert.com"
将 $pfxPath、$pfxPassword 和脚本路径修改即可。
背景
由于 powershell 的强大逐渐被人熟知,PS 脚本的使用越来越多。杀软对脚本也青睐有加,所以我们急需对脚本文件进行签名。
脚本文件的签名跟二进制有些许的不一样,如果直接通过 signtool 进行签名,signtool 会提示成功,但实际一点用都没有。
通过内置 cmdlet 来签名
获取数字证书
我们首先要做的就是获取数字证书。数字证书可以来自自签名的,也可以来自证书颁发机构。
我们以证书颁发机构为例:
$pfxPath = "C:\Users\frend\Desktop\xxxx_codesign_2022.pfx"
$pfxPassword = ConvertTo-SecureString -String "xxx" -AsPlainText -Force
$cert = Import-PfxCertificate -FilePath $pfxPath -CertStoreLocation Cert:\CurrentUser\My -Password $pfxPassword
从本地的 pfx 文件中获取证书,并导入本机。
💡 如果需要采取自签名,可以通过 New-SelfSignedCertificate 来生成,但自签名别的机器默认情况是不认识的。
对脚本签名
一行命令即可:
Set-AuthenticodeSignature -FilePath "C:\Users\frend\Desktop\test.ps1" -Certificate $cert -TimestampServer "http://timestamp.digicert.com"💡 这里最好是加上时间戳,这样有效期就不会因为证书过期而过期了
怎么验证是否签名
方式一
也可以采用内置 cmdlet (get-authenticodeSignature)来获取签名信息:
frend in ~ λ get-authenticodeSignature C:\Users\frend\Desktop\test.ps1

    Directory: C:\Users\frend\Desktop

SignerCertificate                         Status                    StatusMessage             Path
-----------------                         ------                    -------------             ----
819BB2E453C15BA5F6FD16B86F37334BE6A7F611  Valid                     Signature verified.       test.ps1
方式二:
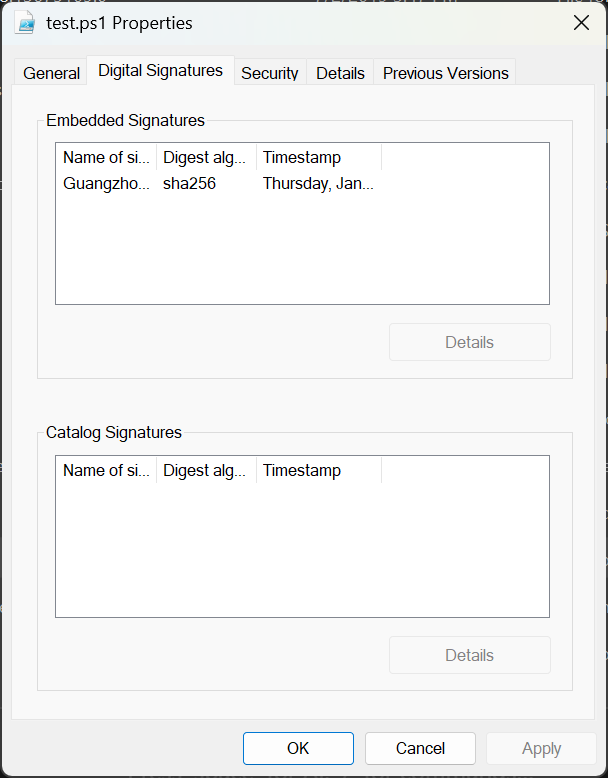
可以像看二进制一样查看文件属性(文件右击 → 属性 → 数字签名):
方式三:
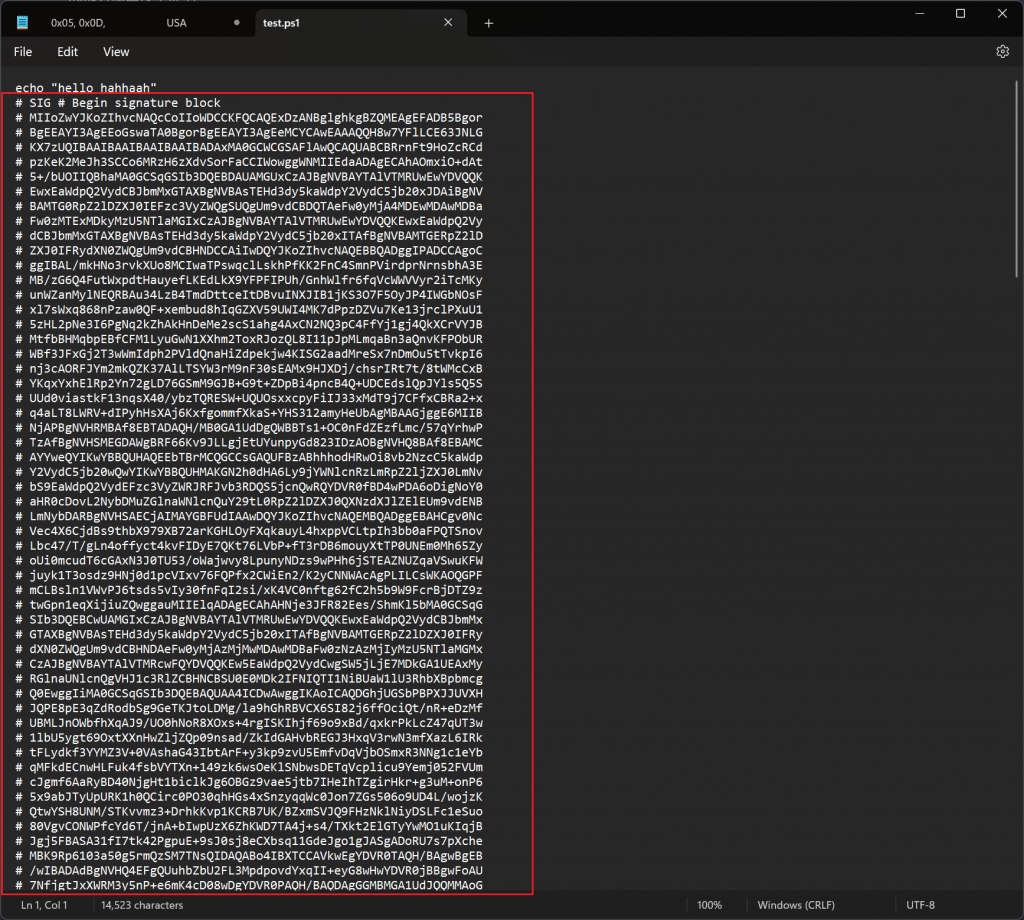
用记事本打开 ps1 文件的时候,可以看到签名块:
注意
签名之后,文件内容是不能被更改的,如果内容更改了,签名状态就会变成 HashMismatch


0